Thursday, October 13, 2011

The finish coat of Earth Plaster inside the greenhouse is done! Only the outside wall to go. As you can see our window in Montana is abruptly closing with snow moving down the peaks. My dancing feet are wrapped in rubber boots and the wool hat is becoming a permanent fixture. So, we used American Clay's Loma Plaster as it was easier to have the material at hand instead of making large volumes of fine mix. 

 Since our bale wall 
was uneven with lots of mountains and valleys- application was a little different than suggested for drywall. We tried the trowel method which appears to go on very easily over a smooth surface. However, the inside retained the 
visual anatomy of most of the bales so hand application worked out better for us. A handful went on at a time applying pressure with the palm like the previous plasters. Areas were then worked in a circular motion to move the material into any small air pockets. 


Once the wall was dry we went back with a wrung out sponge to "compress" the surface as recommended. This was then followed with a light dusting with a broom to brush the sand off and hand buffed in places with burlap. The suede smoothness was then evident. Inviting hand and fingers to explore the surface. It is unlikely that conventional building methods would evoke the same inclination to touch a wall.


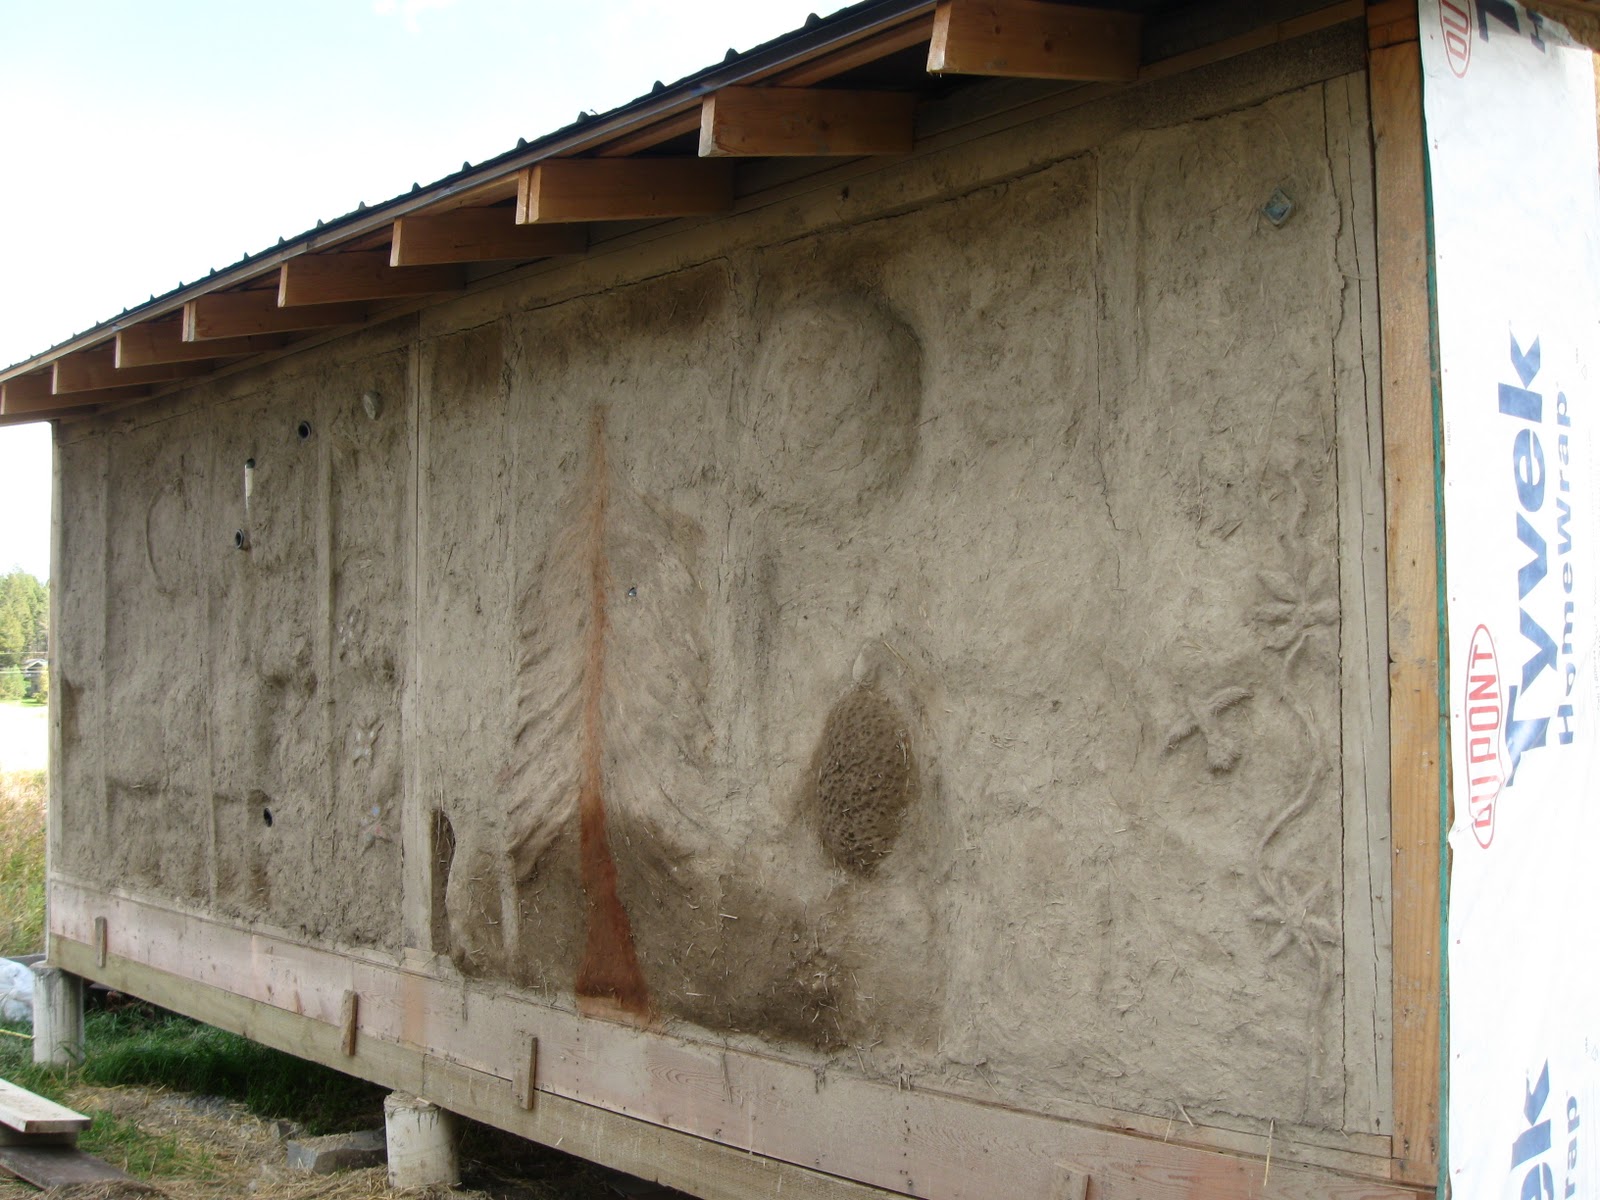
Our plaster master helped apply our Native Finish Plaster coat that drys brown vs. cream. It's a mix of window screened sand and clay slip that have coffee bean frass added until it is the consistency of pudding. His method of using a brush was for ease of use during his assistance and these areas were palm smoothed too. The entire wall will be painted with darker shades of milk paint to increase our thermal mass when the sun decides to shine.

Suede smooth bale craters


 The texture is so wonderful I'm already dreaming up the suede Rocket Bench for next spring finished in Loma.
Raven 


Sometimes we feel like a pack of turtles but, here we are with only the outside wall left in this immersion in clay. Just a couple wet spots from the sand plaster remain under the tree and turtle moon. With the dry time so much slower out in the elements we've had plenty of time to explore clay sculpting. This is highly addictive for lovers of clay. This weekend we plan to apply American Clay's Enjarre. Even though, it is not designed for outside application, we feel comfortable giving it a go with our generously extended overhangs over the bale wall. Plus, Earth plastering is very forgiving so if it seems compromised at any point we simply redo it by modifying the roof for greater extension or coat the exterior in a lime plaster.


Moving the work crew
"Plaster Master" Work Shoes 

Tuesday, October 11, 2011

Earth Plaster Stages


Dry Bales

First Coat-Sprayed Slip
Second Coat Discovery Plaster


Third Coat Sand Plaster
Discovery Coat and Sand Coat 

Finish Coat American Clay Loma Plaster
The inside of the greenhouse is finally done on a beautiful October Moon!


Thursday, October 6, 2011

Catching up on Shares and Immune Foods


I've been so immersed in earth plastering, processing tomatoes and making pickles I forgot to update last weeks share. Not much mystery in it's contents: Dill, montana cucumbers, tomatoes and every type of onion from the garden. We're still eating chard, mizuna greens, kale and the final round of peas but seeing that most have had their fair share of the above mentioned greens we're focusing on filling you up with the warm season gems.
Week 18's share is tomatoes, some spaghetti squash, parsley and more onions. We've officially filled the 20 weeks of shares in 18. Thank-you all for a wonderful, supportive season. We'll be including a request list in the winter for things you'd like for us to potentially try next season and what you cared for this past season and didn't taste for too. It's a challenging grow season here but we're always trying to improve and adjust.
Well, I've been canning diced tomatoes to create with later this winter. We found the last time we canned copious amounts of salsa that we tired of the flavor come March. This time we'll jazz it up as we open them. Chutney's, pasta sauces, soups and salsas and other delightful tomato creations. We've also been dehydrating then freezing the tomatoes just in case all the moisture did not escape. I was hoping to freeze more whole tomatoes but the bags and bags of frozen bok choy and chard are taking up too much space. Good greens are hard to come by in the winter so we're prepared. Did you know most plants in the Brassica Family have more Vitamin C than Oranges? The greens were hiding 2 gallons of Huckleberries. Alright!

Today I made some delicious garlic butter. An easy recipe that can be modified with herbs like parsley and sage or try something sweet with lemon and anise. Pre-made lavender butter is perfect for cookies too.
Garlic Butter
Melt 1 stick of butter in sauce pan
Add 2 Bulbs of Minced Garlic(about 8-10 whole cloves)
Heat on low-avoid browning then pour into wide mouth 8oz mason jar.
We added it to mash potatoes during lunch and stir fried chard and spinach in it. This evening we spread it on tapioca/millet biscuits. My sense of smell has disappeared the last 2 days but this actually trickled in.

With the weather shifting Elderberry Syrup was on the Agenda yesterday. Daily dose around here is at least a tsp and when under the weather 3. Come winter we drizzle it on Huckleberry waffles. mmm....


How to Make Elderberry Syrup
3 cups Fresh Black Elderberries or 1 cup dried
3 cups water
1 cup local honey

Bring water and berries to a boil then cover and simmer for 30 minutes
Mash berries and boil and additional 5 minutes
Strain through a fine mesh strainer or jelly bag overnight or for at least 8 hours for Juice to develop
Add Honey to the Juice
Add Juice of One Lemon to Preserve
Bottle and Refrigerate
We used fresh berries that we harvested a few weeks back and froze and Just by chance I discovered freezing is the easiest way to shed all the berries from the stems. They simply fall off with a little shaking. We spoon are Flathead Honey from their gallon tub. Bees are simply amazing.


The Fall Garlic Crop goes in next week. We're trying for 1000 hardnecks and 1000 soft necks but won't really know for sure till we crack the bulbs.

Tuesday, October 4, 2011

Earth Walls


Nearly all of the discovery coat has dried down and were on to what the "Natural Plaster" book calls the infill coat that we've renamed the sand coat. This is the last coat before the clay finish coat and is where all the forms start turning into shapes, animals, plants celestial bodies and whatever else emanates.

Over a couple days we've applied the outside layer of sand plaster to the wall. Mixing up the batch involved the same technique as the discovery coat just the formula changed to
4.5 part sand
2 parts screened and hydrated clay
2.5 gallons earth oven dirt
5 gallons straw
Coffee frass to taste

The foot mixing seemed more like running in place since we were trying for a dryer, tighter mix. I filled a 15 gallon trash can for the sand coat on the outside wall. We applied it about a 1/2 inch thick and have started building on it from there. Anyone that's working on the wall fills their bucket up with plaster from the mixing area and carries it over to their section of the wall.


I've found creating with clay on this scale is so rewarding and meditative. All there is the wall and mud nothing more to think about. Just magically joining each element together in what seems like an impossible feat. In modern construction we have ventured far from the roots of the apple tree with highly processed materials. Both still share the frantic building speed in the small window we have in Montana but this is just simply earth substrate blended and approachable for people at any age with varying experience and abilities. All share the desire to learn a new way of building and creating that doesn't pose a threat to our health.


Interestingly, a technique that works for one person in application is different in what works for another and that's the beauty because the end result is the same: Earth Walls to grow food in. Perfectly balanced and not heavily induced with power tools, noise and pollution. Just as it should be-humbling beauty from a small group of people dedicated to finishing it before the snow flies.


Carob Beet Cake makes a great snack after breakfast before lunch and following dinner. We like to drizzle homemade razzberry sherbet over the top.

Razzle Dazzle Sherbet
1 quart bag frozen razzberries
3 frozen bananas
Half a blender of hemp milk
Blend and pour into glass dishes. Great anytime of the day.

More Stories

Related Posts with Thumbnails